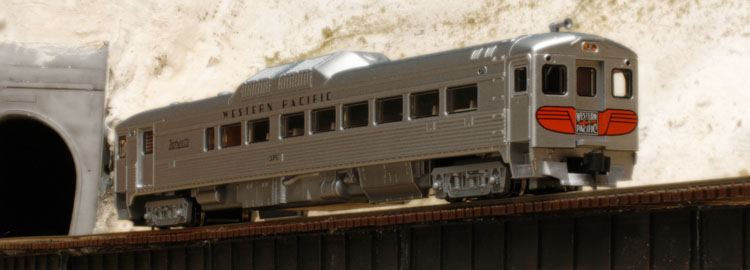
Photo Courtesy Kato, USA
The DN143K2 replaced the earlier DN122K2 as a custom decoder designed for the Kato RDC in N-Scale. This is not a particularly easy installation and there have been some reports of problems with the headlights.
Paul Lator has some experience with this installation, and this may be of help to you:
"The wiring with the DN143K2 works well if you do not route the wires over the top of the seating in the RDC, rather completely disassemble the unit, mount the decoder in it's designated location then run the wires through the drive shaft tunnels.
Place the lamp board in their proper locations.
The lamp board wires will need to be removed and re-soldered but you get a great install with all the wiring hidden.
More work but a better solution."
And our thanks to Paul for this tip.
Richard Thornton of Ottawa, Canada adds:
"For those those who do not wish to desolder/resolder decoder wires or worry that the wires might interfer with driveshaft operation, I suggest the following alternative.
Once the decoder & light board parts are all in place, tuck the wiring in along the edge of the seat platform all the way back to the decoder.
Hold it in place with small tabs of masking tape.
The tape is the same colour as the beige seat platform so is not seen through the windows once the shell is replaced.
The wire is now below the interior window sills of the shell.
[Should a little bit of yellow or white wire be visible, pop the shell off again and cover it with a tab of tape!]
A larger piece of tape over the bulk of the wire at the decoder position hides it as well from being viewed through the window.
Be sure not to cover the decoder itself to allow heat to vent.
I installed 4 decoders in 4 RDCs in this manner and was very pleased with the results."